
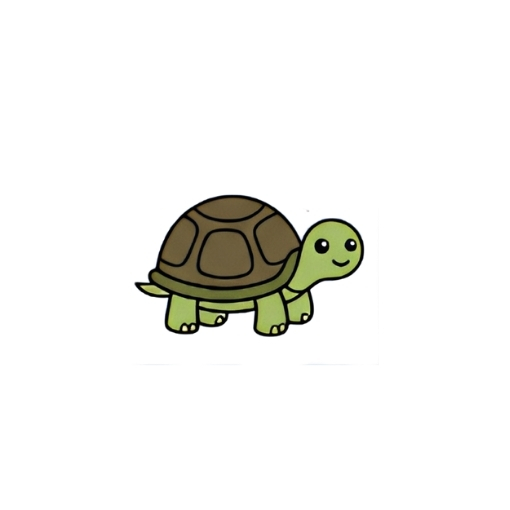
How to Draw a Turtle Step by Step
Follow these turtle drawing step by step instructions. Go slowly, and remember your turtle does not need to be perfect. Every line you draw helps your hand get steadier and more confident.
Step 1: Draw the Top of the Shell

Start by drawing a dome, like a gentle hill or a rainbow shape, near the middle of your paper. This is the top of your turtle’s shell. Draw it lightly so it is easy to fix later.
Step 2: Add the Bottom of the Shell
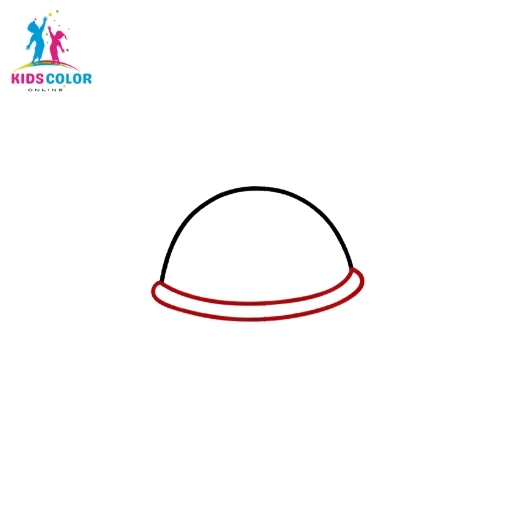
Under the dome, draw a curved line that connects both ends. Leave a little gap to make a thin rim. Now the shell looks round and full.
Step 3: Draw the Head
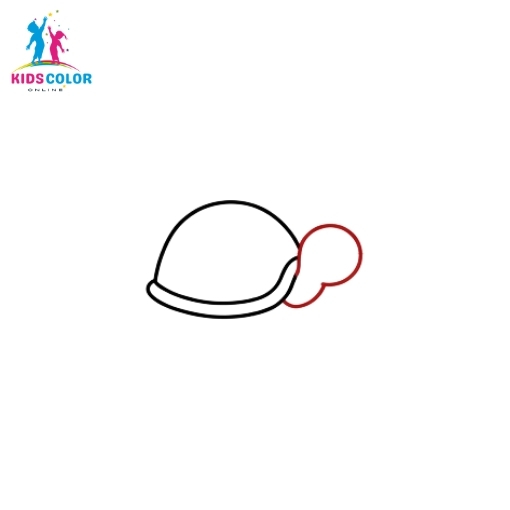
On the right side of the shell, draw a rounded head shape, a bit like an egg lying on its side. This is where your turtle’s friendly face will go.
Step 4: Add the Face
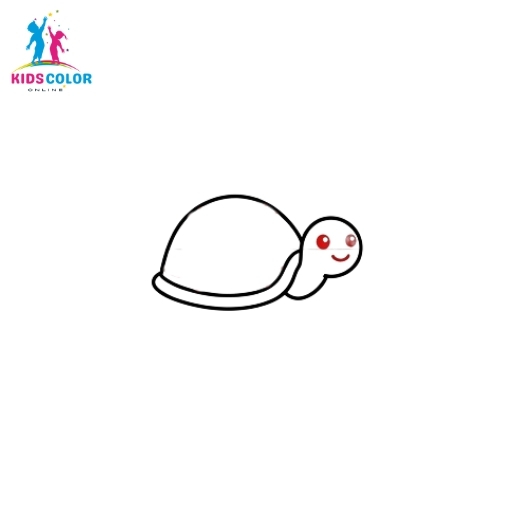
Draw two round eyes on the head. Color them in, but leave a tiny white dot in each one so they sparkle. Then add a small curved line for a happy smile. Your turtle already looks cheerful!
Step 5: Draw the Front Leg
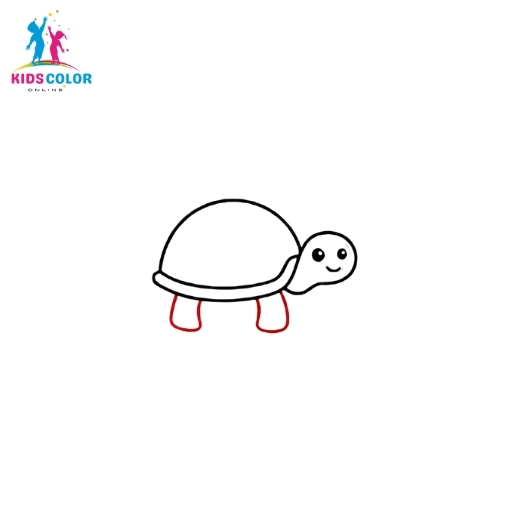
Under the front of the shell, draw a short, stubby leg. Turtle legs are small and chunky, so keep it simple and round at the bottom.
Step 6: Add the Front Foot
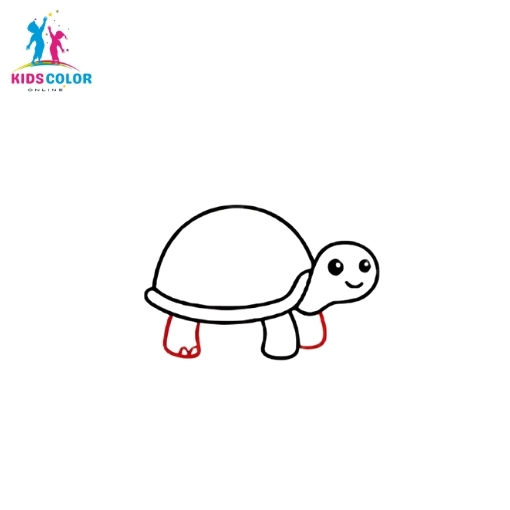
Add two or three tiny lines at the bottom of the leg to make little claws. These small details make your turtle look real.
Step 7: Draw the Neck and Back Leg
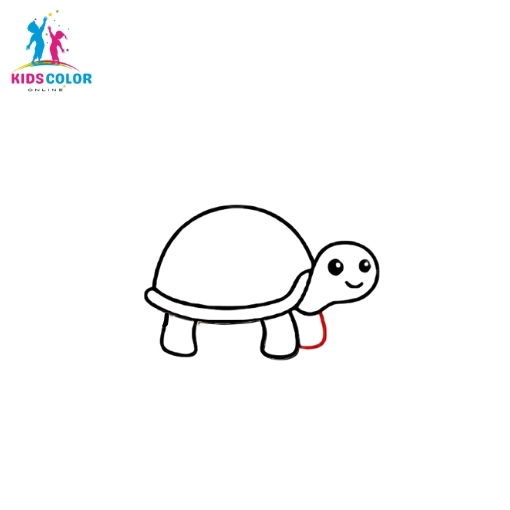
Draw a short line under the head to connect it to the shell, like a little neck. Then begin a back leg at the rear of the shell.
Step 8: Finish the Back Leg
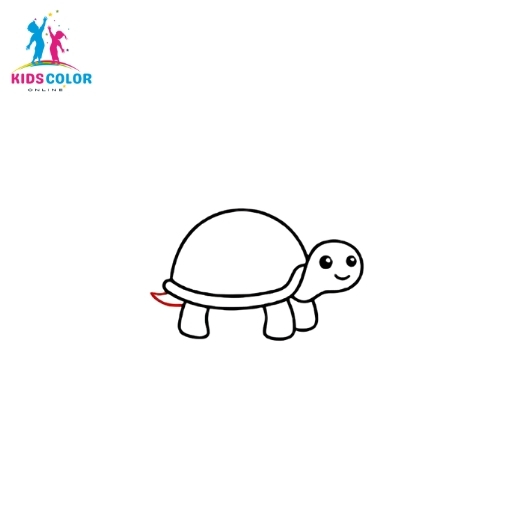
Finish the back leg and add a tiny pointed tail behind it. Now your turtle has everything it needs to stand and walk.
Step 9: Clean Up the Body
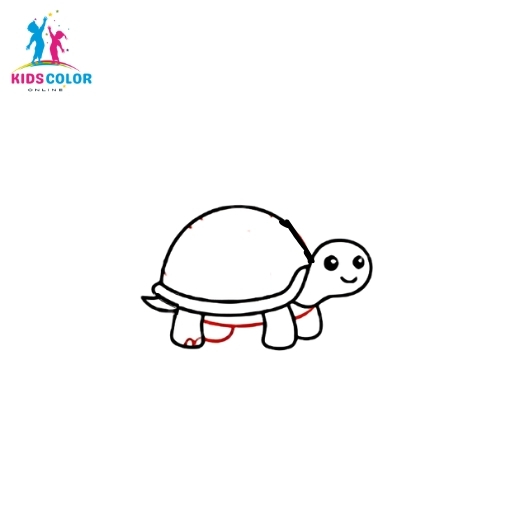
Smooth out the bottom line of the body so the legs and shell connect nicely. Erase any extra lines you do not need.
Step 10: Start the Shell Pattern
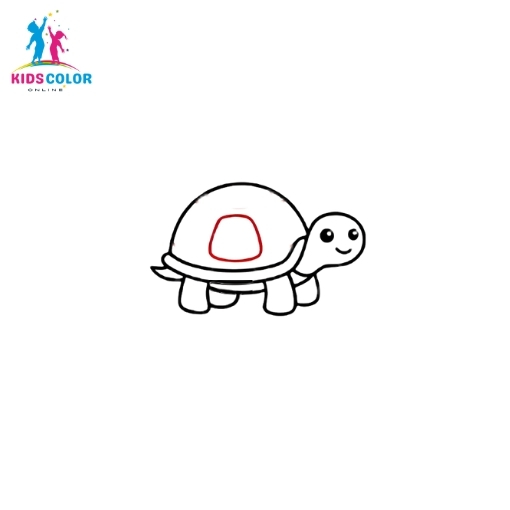
Now for the fun part! Draw a rounded shape in the middle of the shell. This is the center of your turtle’s cool shell pattern.
Step 11: Add the Top Shell Sections
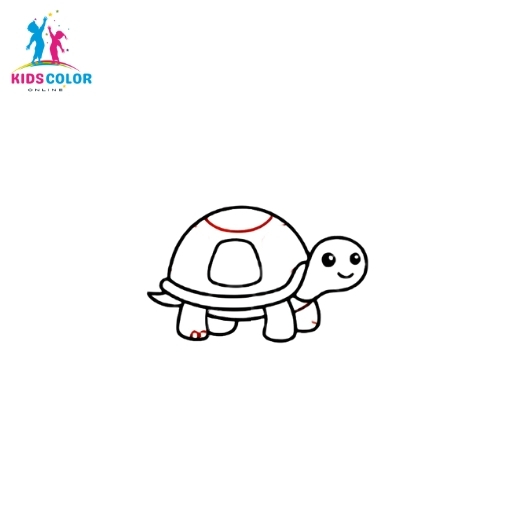
Around the center shape, draw a few more sections near the top of the shell. Turtle shells are made of many connected plates called scutes.
Step 12: Add the Side Shell Sections
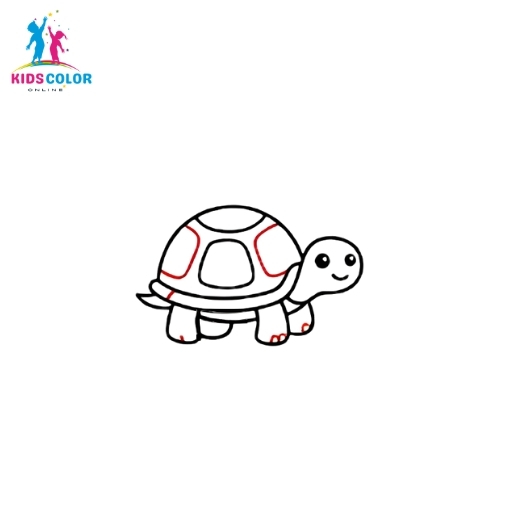
Add more rounded sections along the bottom edge and sides of the shell. Try to space them out evenly so the pattern looks neat.
Step 13: Finish the Shell Pattern
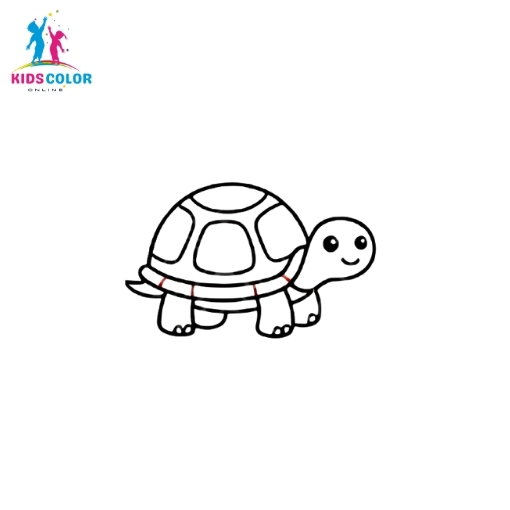
Connect and finish all the shell sections until the whole shell is covered in a fun pattern. Each turtle’s shell is a little different, so there is no wrong way to do this.
Step 14: Trace Your Final Lines
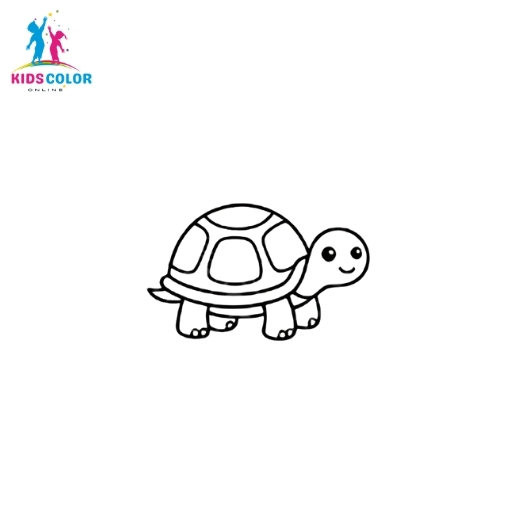
Go over your favorite lines with a black marker, then gently erase any extra pencil marks. You now have a clean turtle outline. This makes a great turtle coloring page all on its own!
Step 15: Color Your Turtle
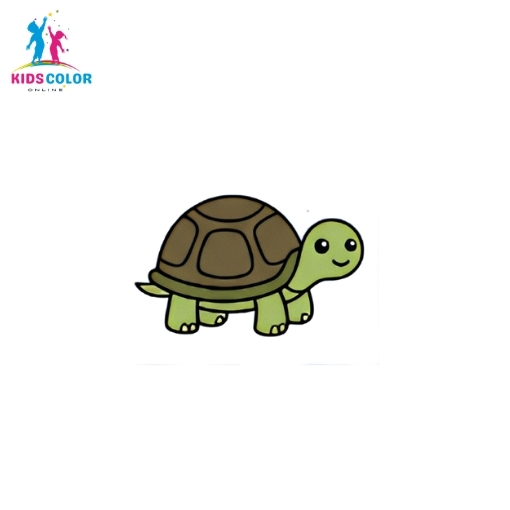
Now for the best part: coloring! Color the body and head green, and the shell brown or dark green. You can make the shell sections two shades to help them stand out. Your turtle is finished and adorable. It is your art, so use any colors you love!
Fun Facts About Turtles
Drawing is even more fun when you learn a little, too. Here are some cool turtle facts to share:
- A turtle’s shell is part of its body, and it is made of about 50 bones.
- Some turtles can live for more than 100 years.
- Turtles have been on Earth for over 200 million years, even before the dinosaurs disappeared.
- The hard sections on a turtle’s shell are called scutes.