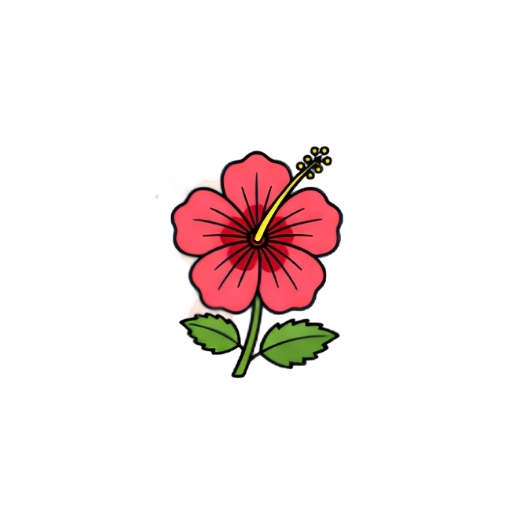
How to Draw a Hibiscus Flower Step by Step
Follow these flower drawing step by step instructions. Go slowly, and remember your flower does not need to be perfect. Real flowers are not perfect either, and that is part of their beauty. Every line you draw helps your hand get steadier and more confident.
Step 1: Draw the Center
Start by drawing a small circle in the middle of your paper. This is the center of your flower, and all the petals will grow around it. Draw it lightly so it is easy to fix later.
Step 2: Draw the First Petal
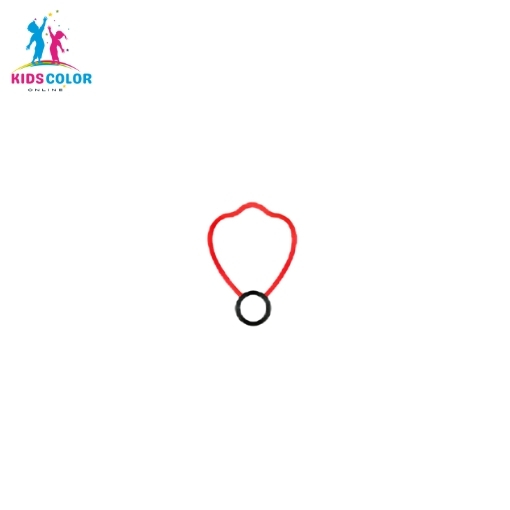
Above the circle, draw your first petal. Make it a wide, rounded shape with a slightly wavy edge, like a soft heart without the point. Hibiscus petals are big and ruffly.
Step 3: Draw the Second Petal
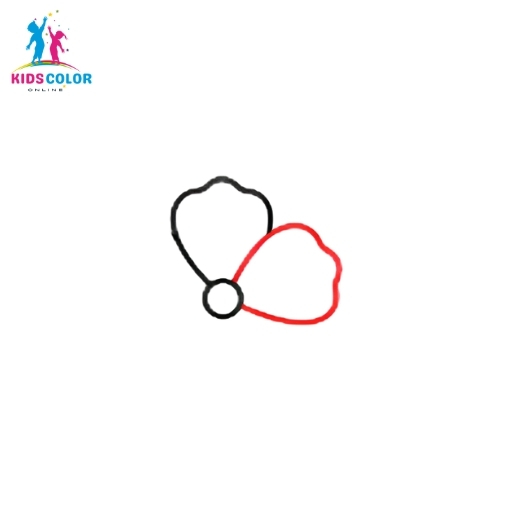
Next to the first petal, draw a second petal. It should also touch the center circle. Let the petals slightly overlap so the flower looks full.
Step 4: Draw the Third Petal
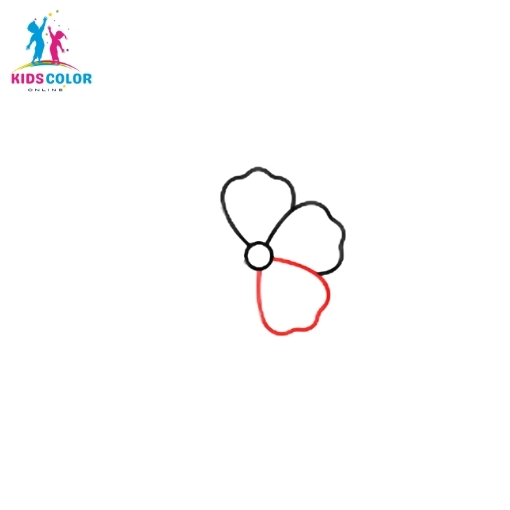
Add a third petal, again starting from the center. Try to space the petals out evenly as you go around, like the numbers on a clock.
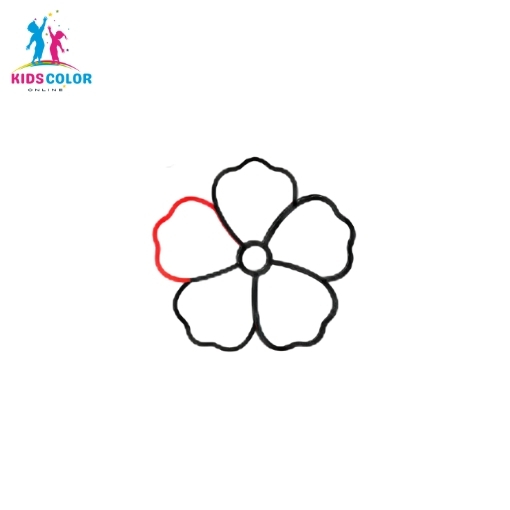
Step 5: Draw the Fourth Petal

Draw a fourth petal in the next open space. Your flower is really starting to take shape now!
Step 6: Draw the Fifth Petal
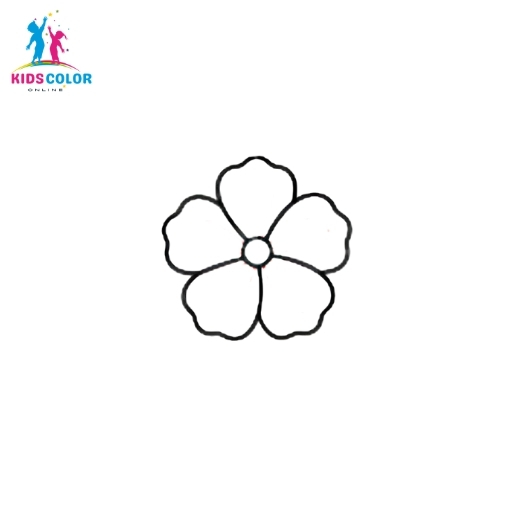
Fill in the last gap with a fifth petal. A hibiscus has five petals, so now your flower is complete all the way around. Keeping the petals evenly spaced is called symmetry, and it makes your flower look balanced.
Step 7: Clean Up the Petals
Go around and smooth out your petal shapes. Erase any extra lines so each petal looks soft and round.
Step 8: Add Petal Lines
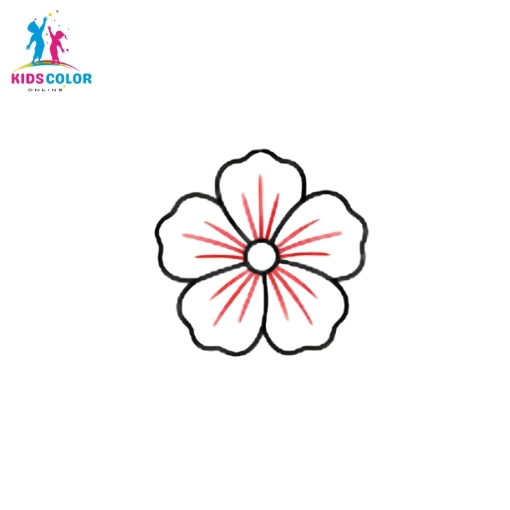
From the center circle, draw thin lines that reach out into each petal, like sun rays. These are the petal veins, and they make your flower look real.
Step 9: Shade the Center

Lightly shade along the veins near the center to give your flower some depth. Add a little ring of detail around the center circle, too.
Step 10: Start the Stamen
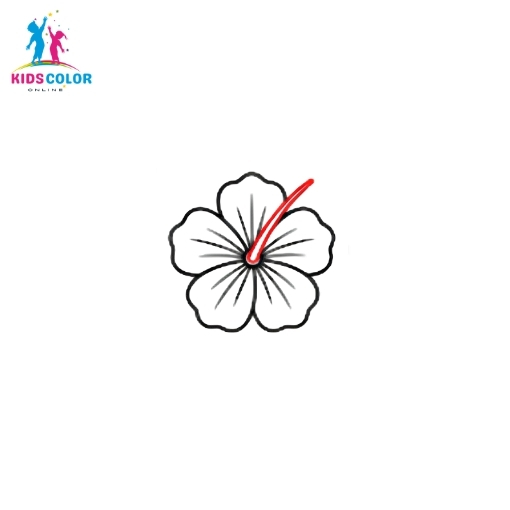
Now for the part that makes a hibiscus special! From the center, draw a long curved line that reaches up and out past the petals. This is the stamen, the long stalk that sticks out of a hibiscus flower.
Step 11: Add the Stamen Tip

At the end of the stamen, draw a few tiny circles clustered together. These are the pollen tips. They look like little dots on the end of the stalk.
Step 12: Draw the Stem
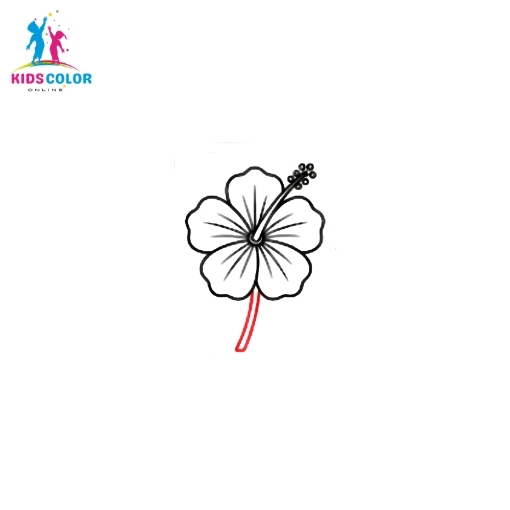
Below the flower, draw two lines coming down for the stem. The stem holds the flower up tall.
Step 13: Finish the Stem Base
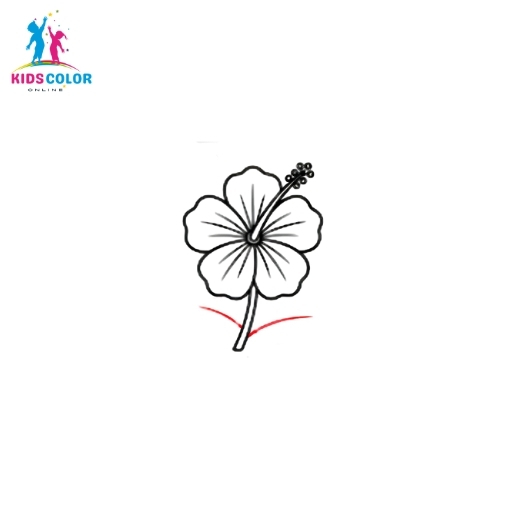
Finish the bottom of the stem and add a little curved base where the leaves will attach. Your flower now has something to stand on.
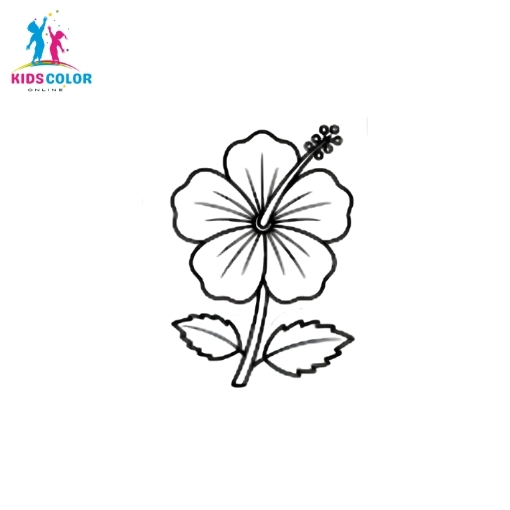
Step 14: Add the Leaves

On each side of the stem, draw a pointed leaf with a jagged edge. Add a center line down each leaf for a vein. Leaves make your flower look fresh and alive.
Step 15: Trace Your Final Lines
Go over your favorite lines with a black marker, then gently erase any extra pencil marks. You now have a clean flower outline. This makes a great flower coloring page all on its own!
Step 16: Color Your Flower
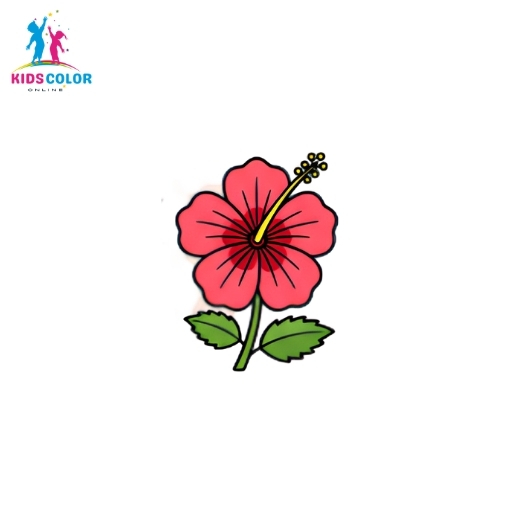
Now for the best part: coloring! Hibiscus flowers come in many colors. Try pink or red petals, a yellow stamen, and green leaves and stem. Your flower is finished and beautiful. It is your art, so use any colors you love!