How to Draw a Dolphin Step by Step
Follow these dolphin drawing step by step instructions. Go slowly, and remember your dolphin does not need to be perfect. Real dolphins are full of smooth curves and playful leaps, and that is part of their charm. Every line you draw helps your hand get steadier and more confident.
Step 1: Draw the Head and Back
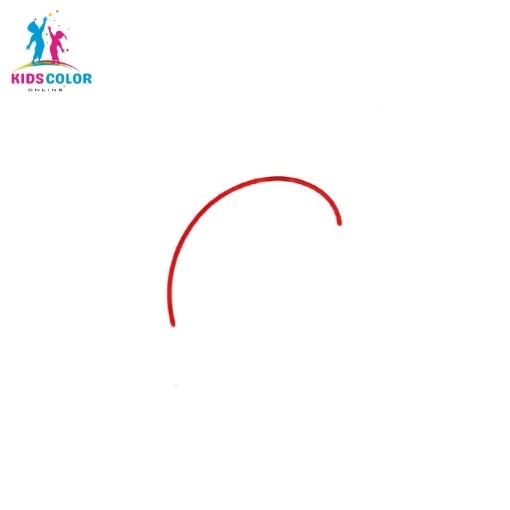
Start by drawing a smooth, curved line in the middle of your paper. This curve will become the top of your dolphin’s head and back, so let it arch nicely like a leaping jump.
Step 2: Add the Nose Tip
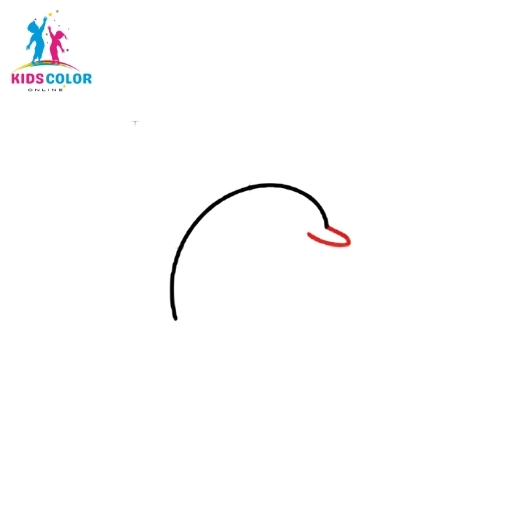
At the end of your curve, draw a small rounded loop. This little loop will become the tip of your dolphin’s nose, called a beak.
Step 3: Draw the Mouth Line
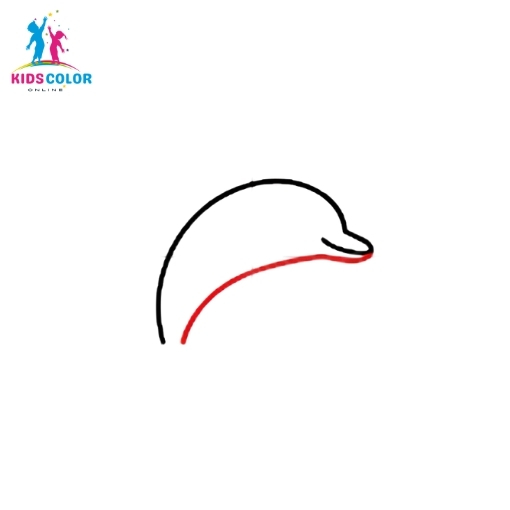
Underneath the head, draw a curved line going from the nose back toward the body. Then start a second curved line below for the dolphin’s belly.
Step 4: Finish the Jaw and Belly
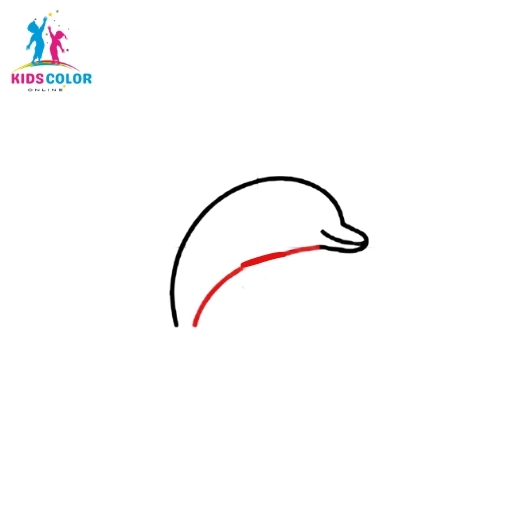
Finish the jaw line so the mouth shape is complete, then stretch the belly curve further down. Your dolphin is really starting to take shape now!
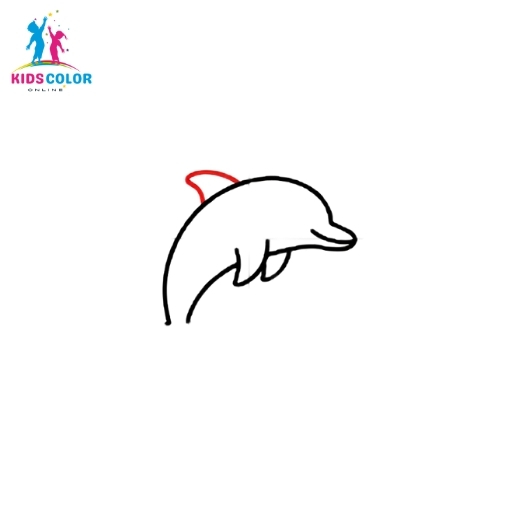
Step 5: Add the Dorsal Fin
On top of the back, near the head, draw a small curved triangle shape. This is the dorsal fin, the fin that sticks up when a dolphin swims at the surface.
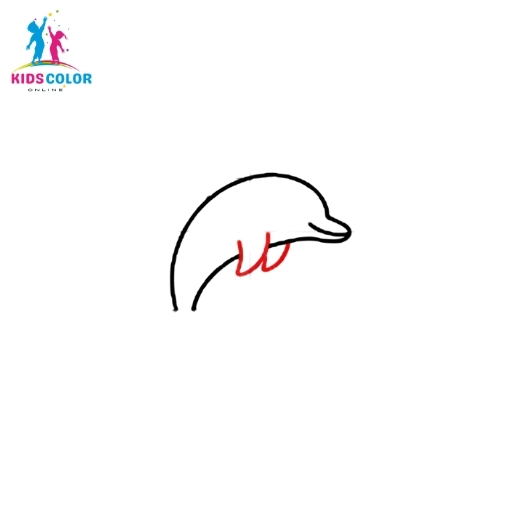
Step 6: Add the Front Flipper
Below the head, draw two small curved lines close together, like a tiny letter W. This becomes the dolphin’s front flipper, tucked in close to its body.
Step 7: Draw the Tail Fin
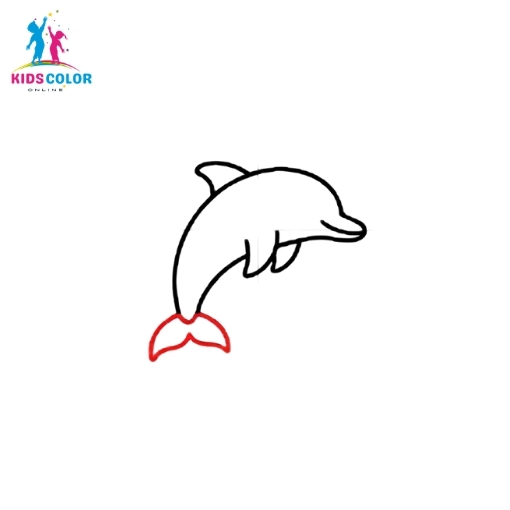
At the bottom of the body, draw a curved tail fin that fans out into two points. Dolphin tails are flat and wide, which helps them swim fast and jump high.
Step 8: Add the Eye
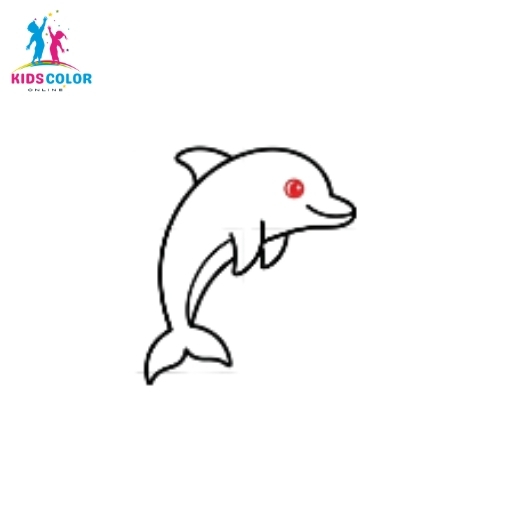
Near the top of the head, draw a small round circle for the eye. Keep it close to the beak so your dolphin looks friendly and alert.
Step 9: Add the Smiling Mouth
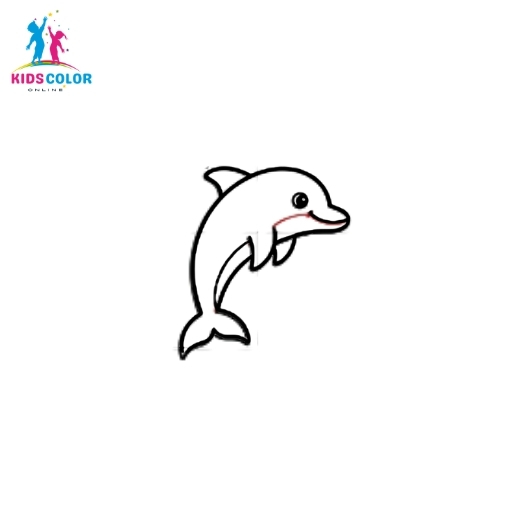
Just below the eye, add a small curved line along the mouth to give your dolphin its famous happy smile. Dolphins always look like they are smiling, even underwater!
Step 10: Clean Up the Lines
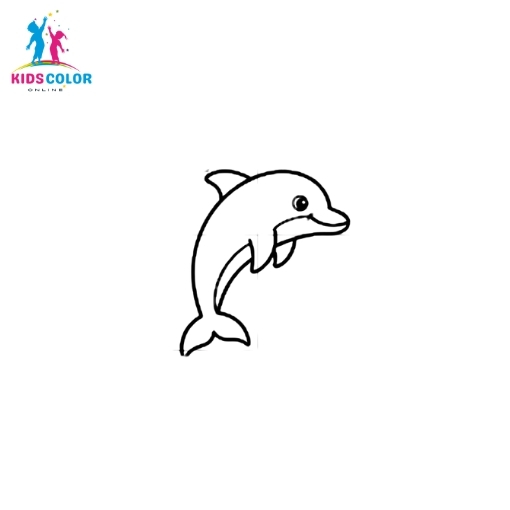
Go around your dolphin and smooth out the body, fin, and tail lines. Erase any extra pencil marks so your dolphin looks neat and ready for detail.
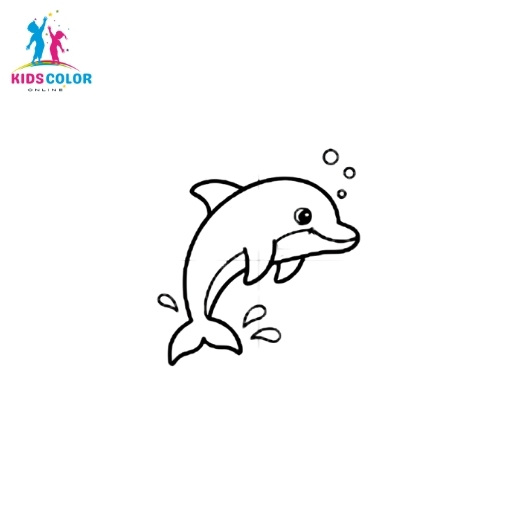
Step 11: Add Bubbles and Splashes

Near the dolphin’s nose, draw a few small circles for bubbles. Near the tail, add a couple of small teardrop shapes for splashing water droplets.
Step 12: Trace Your Final Lines
Go over your favorite lines with a black marker, then gently erase any leftover pencil marks. You now have a clean dolphin outline. This makes a great ocean coloring page all on its own!
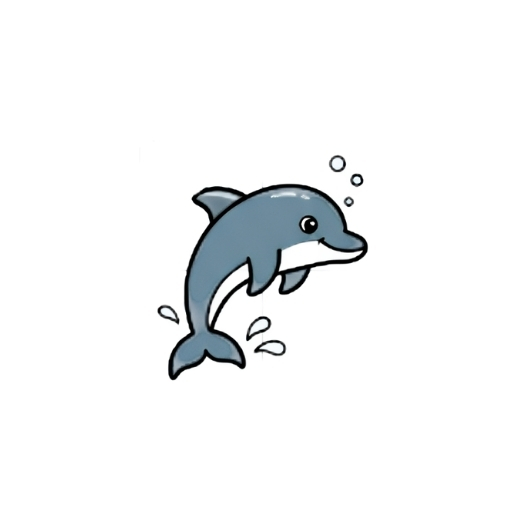
Step 13: Color Your Dolphin
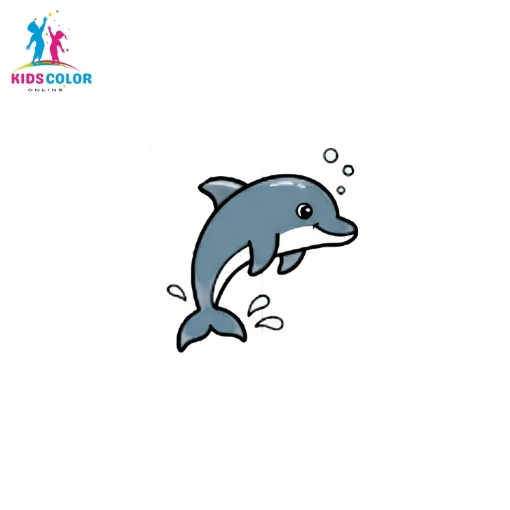
Now for the best part: coloring! Dolphins are usually gray or blue on top with a lighter white or cream belly. Try shading the back a little darker than the tummy for a more realistic look.