Bunny Drawing Basics: The Shapes You Already Know
Here is a little secret that artists use all the time. Almost every bunny is built from shapes you learned in kindergarten. A circle for the head. An oval for the body. A curved line for the back. A half-circle here and there for the paws.
When you break a hard drawing into easy shapes, your brain stops feeling scared. This trick is called drawing with basic shapes, and it is the heart of every directed drawing lesson. It also helps you keep your bunny balanced, which artists call symmetry, meaning both sides match.
So before you start, remember this: a bunny is just a few friendly shapes hanging out together.
How to Draw a Cute Cartoon Bunny (Step by Step)
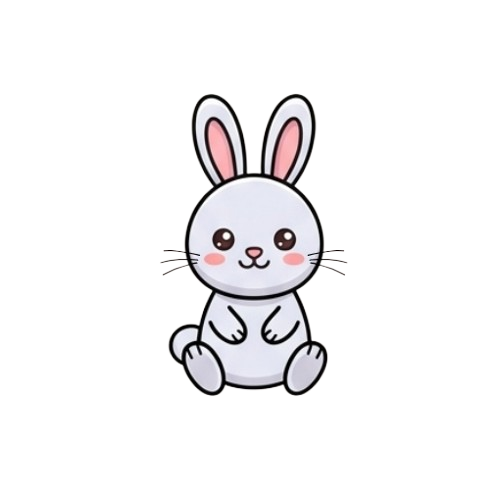
Want a cute bunny drawing with a little more personality? This cartoon style looks friendly, like the bunnies you see in storybooks. It even has a touch of kawaii, the Japanese art style known for big eyes and round cheeks. This is a bunny sitting down, and we will build it one easy shape at a time.
Follow along with the pictures below. Each step adds just one new part, so take your time and keep your pencil lines light.
Step 1: Draw the head.
Start with one big circle near the top of your paper. This will be your bunny’s head. Don’t worry if it isn’t perfect; bunnies look cute even when they’re a little wobbly.
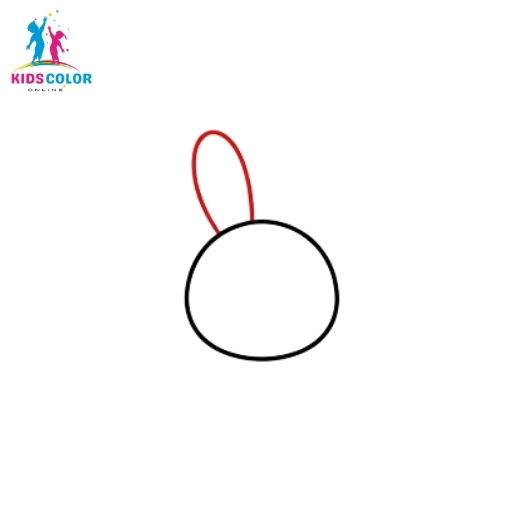
Step 2: Add the first ear.
Draw one tall, skinny oval on top of the head for the first ear. Bunnies have long floppy ears, so make it nice and long.
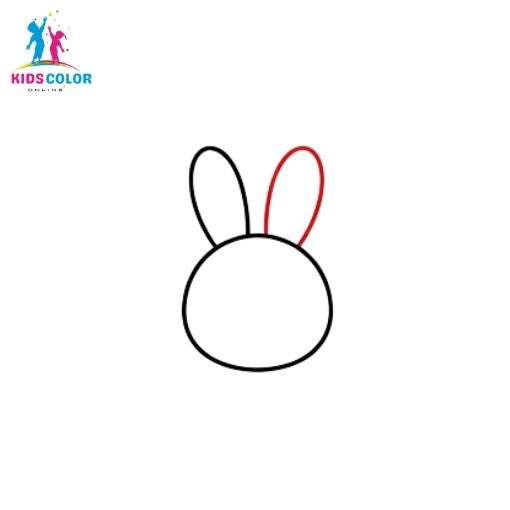
Step 3: Add the second ear. Draw a matching ear right next to the first one. Try to make both ears about the same size so your bunny has good symmetry.
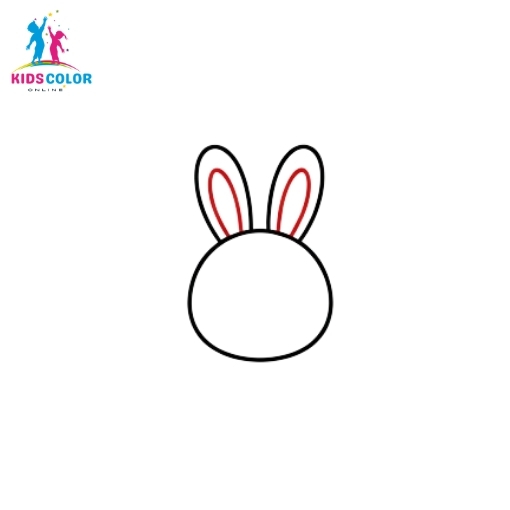
Step 4: Draw the inner ears.
Add a smaller curved line inside each ear. This shows the soft inside part of the ear.
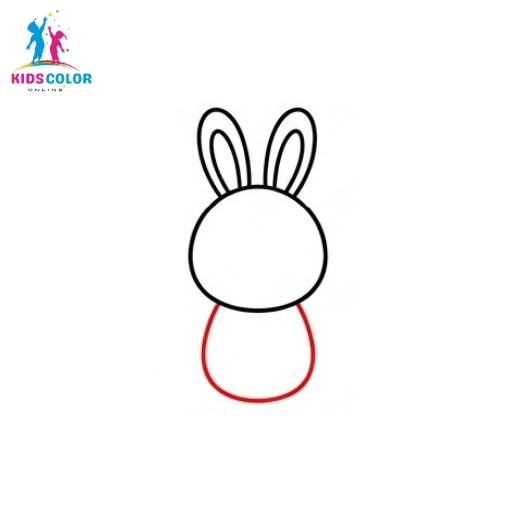
Step 5: Add the body.
Under the head, draw a wide oval for the chest and belly. This gives your bunny a round, chubby body that looks like it is sitting down.
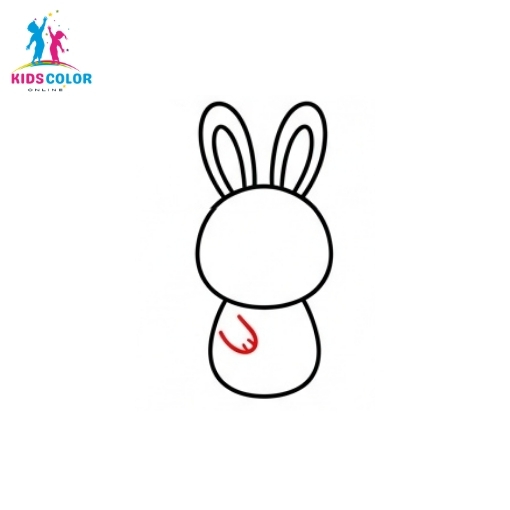
Step 6: Start the first arm.
Draw a small curved line on the front of the body for the first arm and paw, resting on the belly.
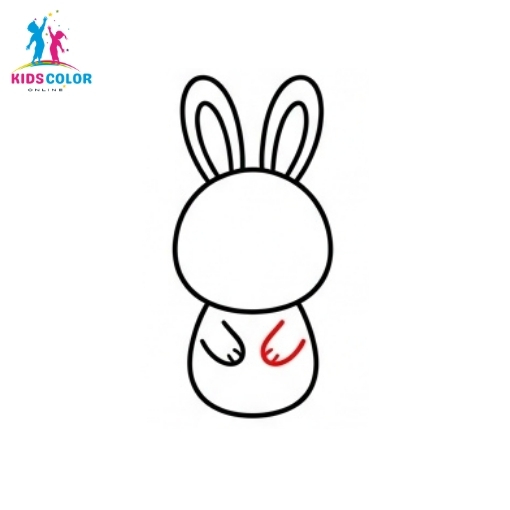
Step 7: Finish both arms.
Add the second arm so both little paws meet in the middle of the chest. Now your bunny looks like it is giving itself a cozy hug.
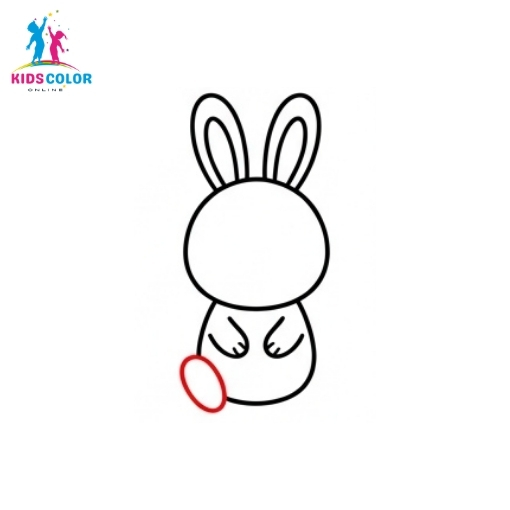
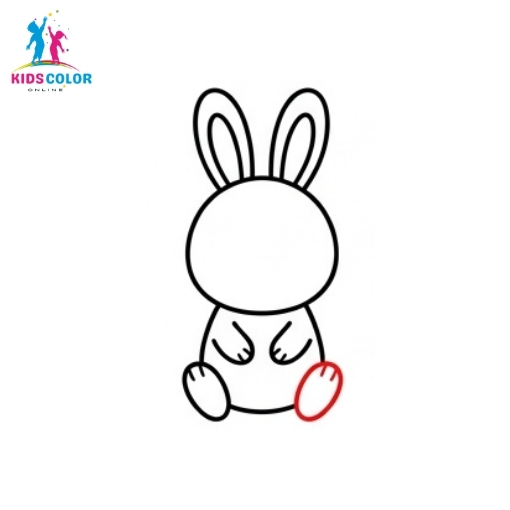
Step 8: Start the first back foot.
Draw a rounded shape at the bottom left for the first back foot. Bunny feet are big and soft.
Step 9: Add the second back foot.
Draw a matching foot on the other side. Now your bunny can sit up all by itself.
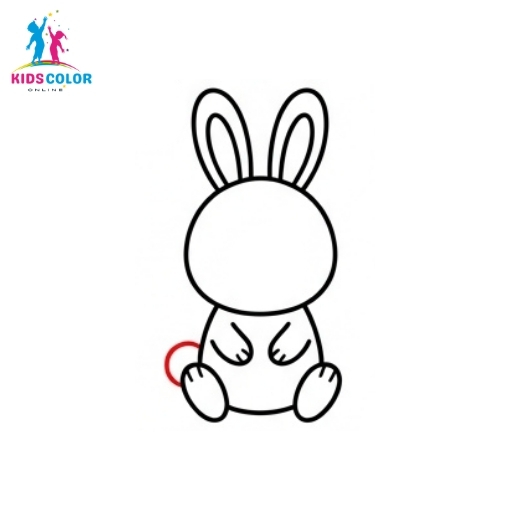
Step 10: Add the tail.
Draw a small, round fluffy tail (the cottontail) on one side of the body.
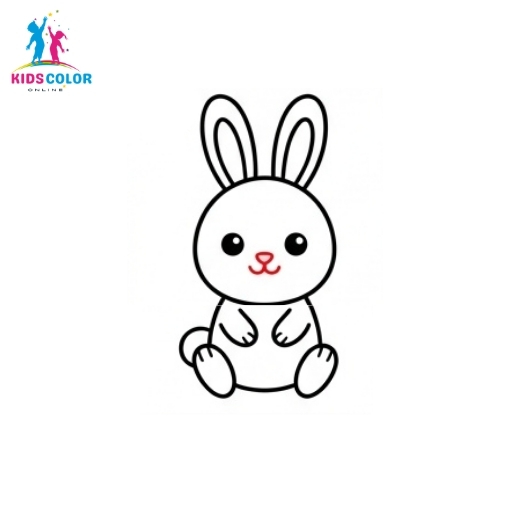
Step 11: Draw the eyes.
Add two big eyes on the face. Big, round eyes are what give this bunny rabbit drawing its sweet kawaii look.

Step 12: Add the nose and mouth.
Draw a tiny nose between the eyes and a small curved mouth right below it. Color in the eyes, leaving little white dots so they look shiny.
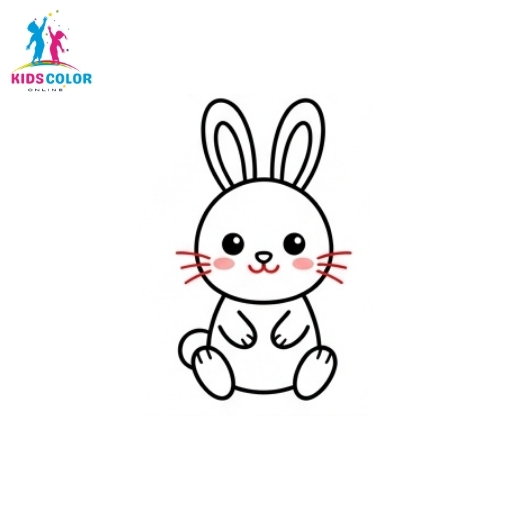
Step 13: Add whiskers and cheeks.
Draw three short whiskers on each side of the nose. Add two soft pink cheeks to make your bunny extra cute.
Step 14: Color your bunny.
Now for the fun part. Color your bunny with soft gray or brown fur and pink inner ears. Your cute cartoon bunny is finished!
The big eyes are what make this cute bunny drawing look so sweet. Try changing the eye and mouth shape to give your bunny different expressions, like happy, sleepy, or surprised.
How to Color Your Bunny Drawing
Coloring is the fun finish. Real bunny fur comes in lots of natural colors, so you can use white, brown, gray, tan, cream, or a mix of these. If you want a playful bunny instead, go wild with pastel pink, blue, or yellow. There are no wrong answers in art.
For a soft, layered look, try coloring with a light color first and then a darker color on top. Some crayons blend together this way and make the fur look fuzzy and real. You can also leave your simple bunny outline as a clean bunny coloring page for younger kids to fill in later.
At KidsColoronline, we love seeing how every child colors the same bunny in a totally different way. That creativity is the whole point.