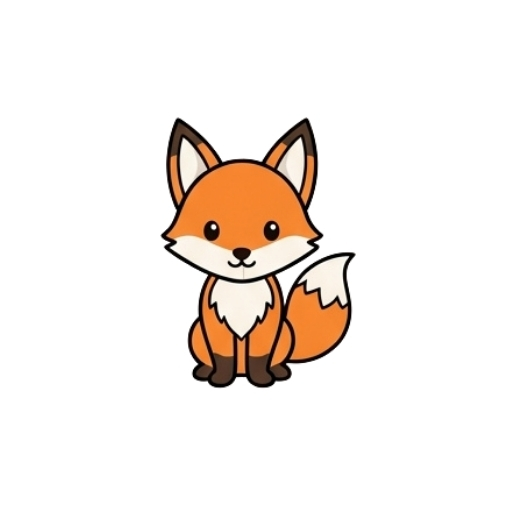
How to Draw a Fox Step by Step
Follow these fox drawing step by step instructions. Go slowly, and remember your fox does not need to be perfect. Every line you draw helps your hand get steadier and more confident.
Step 1: Draw the Head
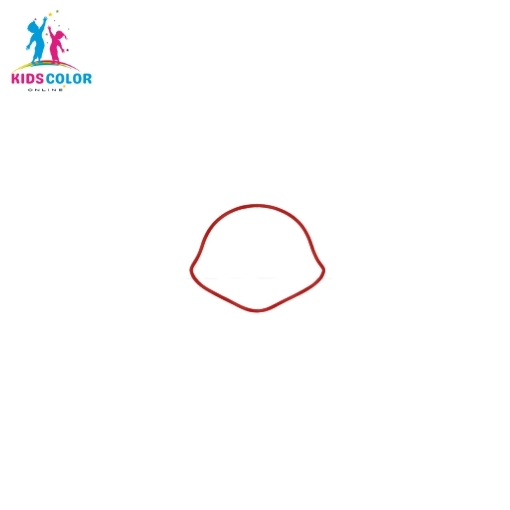
Start by drawing the head near the top of your paper. Make a rounded shape with two pointed cheeks at the bottom, a bit like a wide acorn. Draw it lightly so it is easy to fix later.
Step 2: Add the Nose
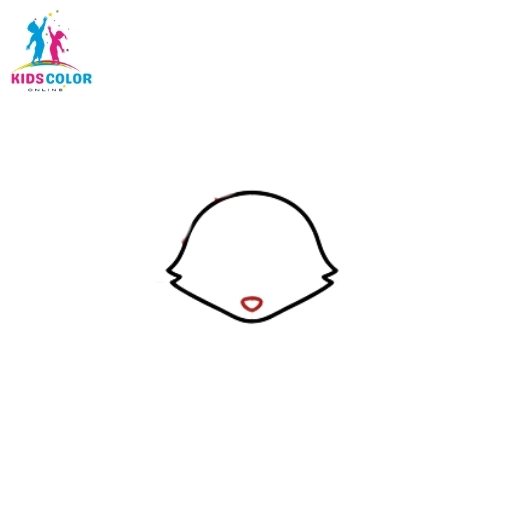
At the bottom point of the face, draw a tiny nose. Keep it small and rounded. This is the center of your fox’s cute face.
Step 3: Draw the First Ear
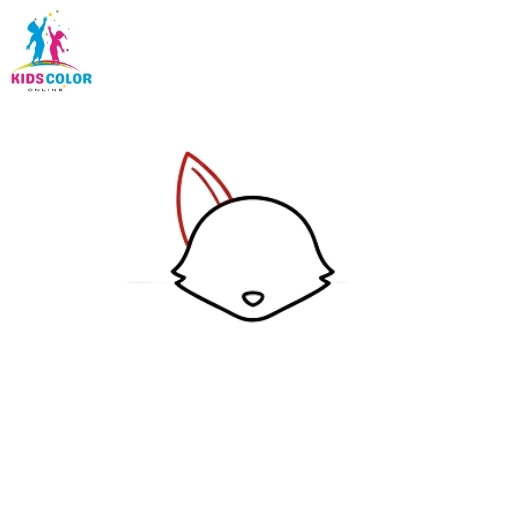
On the top-left of the head, draw a tall, pointy ear. Foxes have big triangle-shaped ears, so make it nice and large.
Step 4: Draw the Second Ear

Now draw a matching ear on the top-right of the head. Try to make it about the same size as the first ear. Keeping both sides even is called symmetry, and it makes your fox look balanced.
Step 5: Add the Eyes
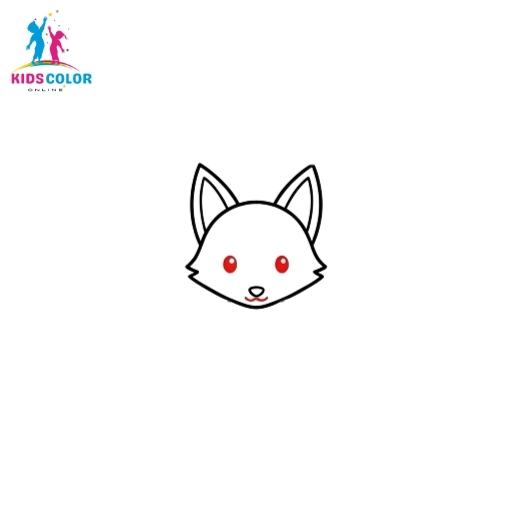
Draw two round eyes above the nose. Color them in, but leave a tiny white dot in each one so they sparkle. Big shiny eyes make your fox look friendly and alert.
Step 6: Start the Body
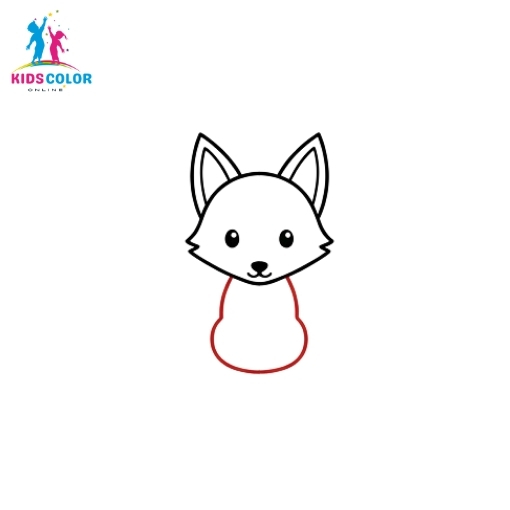
Below the head, draw a small rounded body. Foxes sit upright, so make the body a little narrow at the top and wider at the bottom, like a soft pear shape.
Step 7: Add the Front Legs
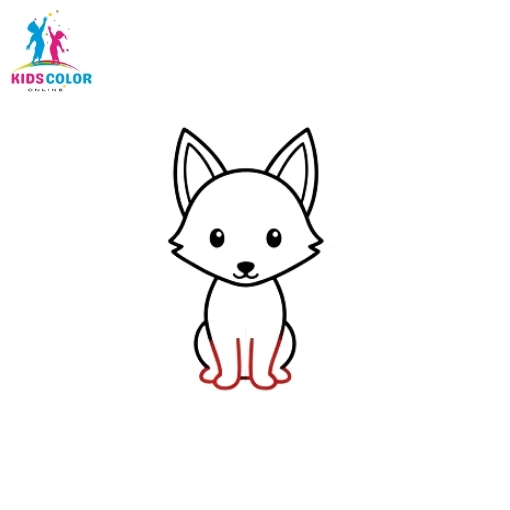
At the bottom of the body, draw two front legs sitting close together, with little paws at the ends. Now your fox can sit up nice and tall.
Step 8: Start the Tail
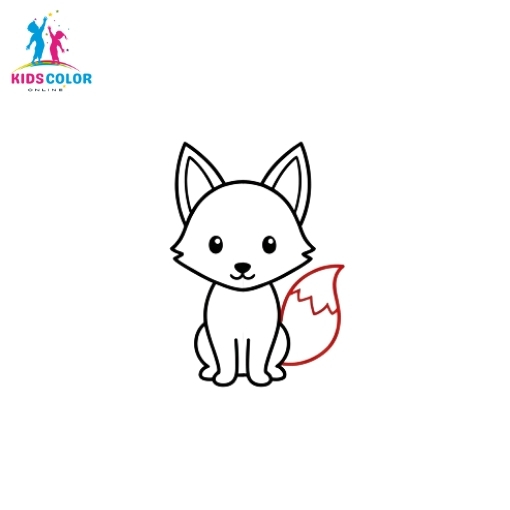
On the right side of the body, draw a big, curved tail. Foxes are famous for their large, fluffy tails, so make this one nice and thick.
Step 9: Finish the Tail and Add Chest Fluff
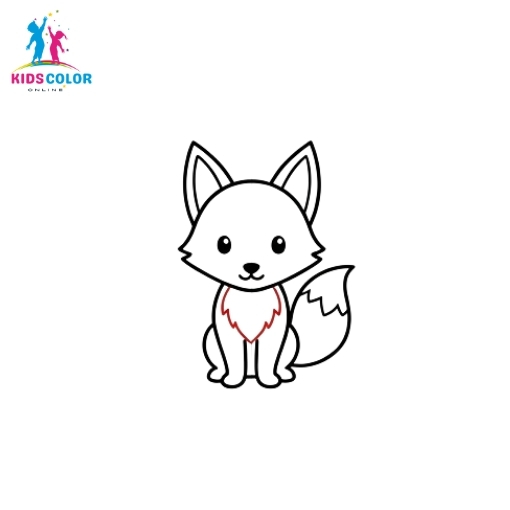
Add a fluffy tip at the end of the tail. Then draw a soft, fuzzy shape on the fox’s chest to show its fluffy fur. These little details make your fox look extra cuddly.
Step 10: Trace Your Final Lines
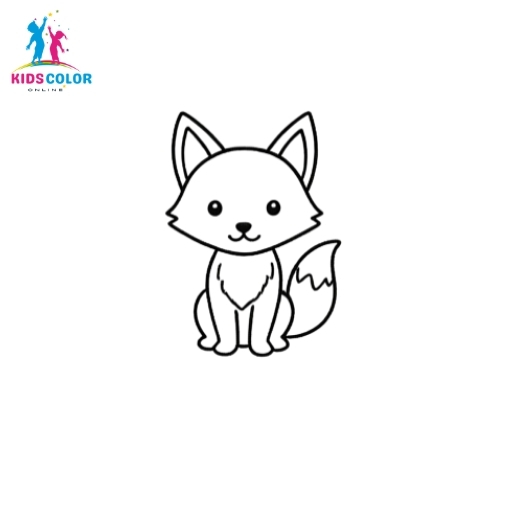
Go over your favorite lines with a black marker, then gently erase any extra pencil marks. You now have a clean fox outline. This makes a great fox coloring page all on its own!
Step 11: Color Your Fox
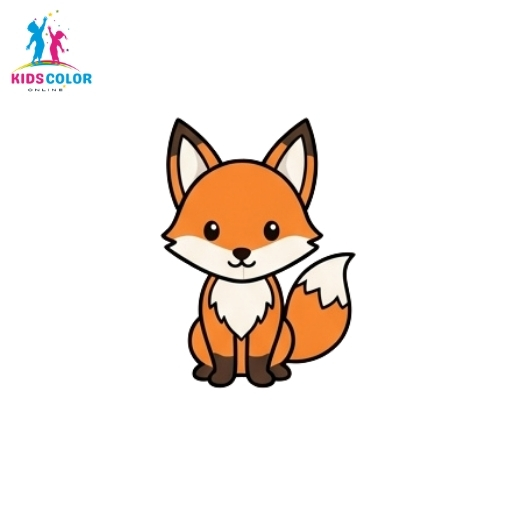
Now for the best part: coloring! Color the main body bright orange. Then make the chest, the tail tip, the inside of the ears, and the cheeks white or cream. Add a little dark brown on the paws and ear tips. Your fox is finished and adorable. It is your art, so use any colors you love!