Download the full step-by-step PDF guide

Share This Guide

How to Draw a Rose
Step by Step

Let's Draw a beautiful rose

Roses look fancy, but here is a happy secret: they are much easier to draw than they seem. Once you break a rose into simple shapes, the hard part melts away. In this guide from KidsColoronline, you will learn how to draw a rose step by step, starting with the easiest version and building up to a fuller, more realistic flower. You do not need to be an artist to follow along. Grab a pencil, some paper, and a little patience. By the end, you will have a beautiful rose of your very own. Let's begin!

🖊️ What You Need

If you like drawing on a screen, a digital drawing tablet and stylus work great too. But paper is all you really need for an easy drawing.

The Easiest Rose in 16 Steps

This quick method is perfect for kids and total beginners. Draw lightly so you can erase any mistakes.

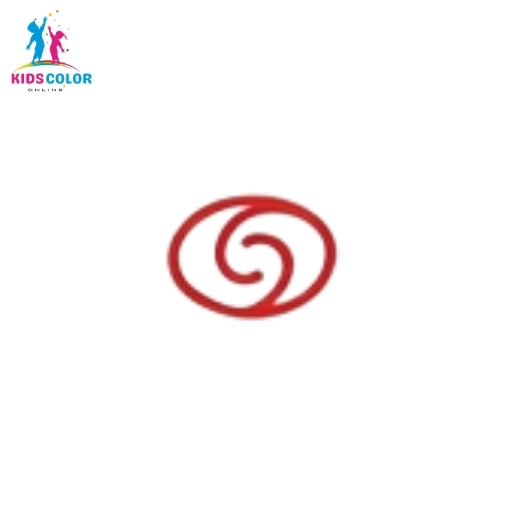
Step 1: Draw an oval, and inside it draw a spiral (swirl). This is the center of your rose.

Step 2: Add a curvy line below and to the left of the spiral to start wrapping the center.

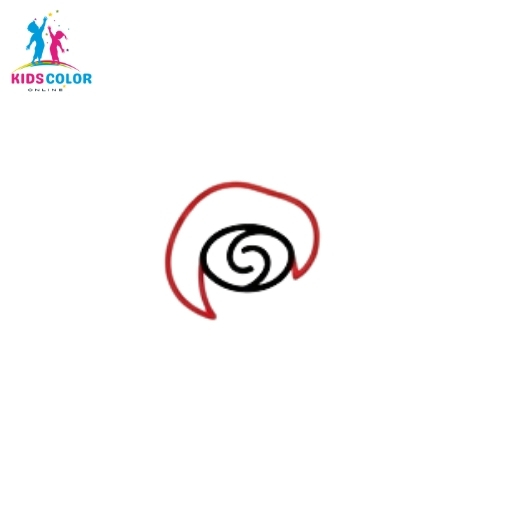
Step 3: Draw a big heart-shaped curve around the spiral to form the first petal.

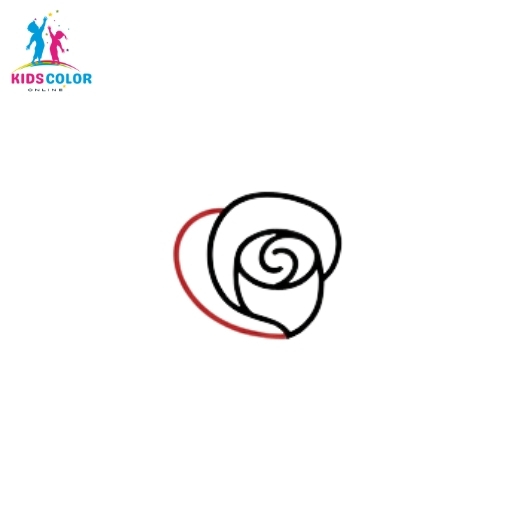
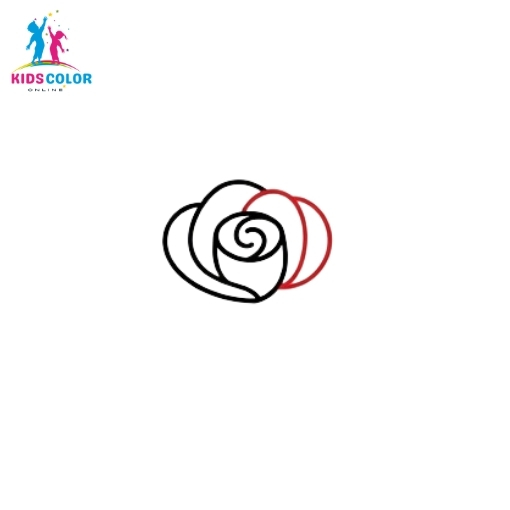
Step 4: Add another curvy petal on the right side that wraps the center more.

Step 5: Draw another petal curve on the lower left side.


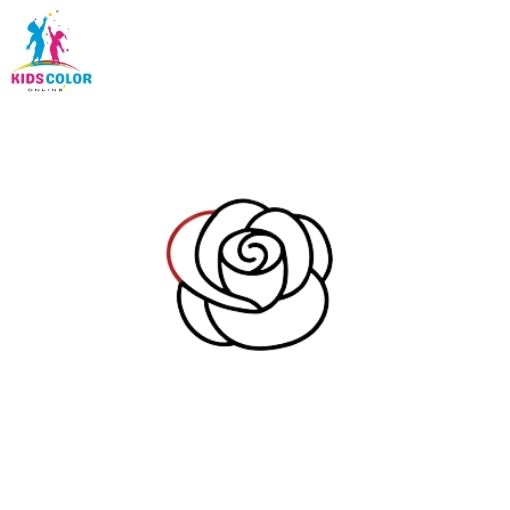
Step 6: Add a new petal on the upper left. The layers are starting to build up.

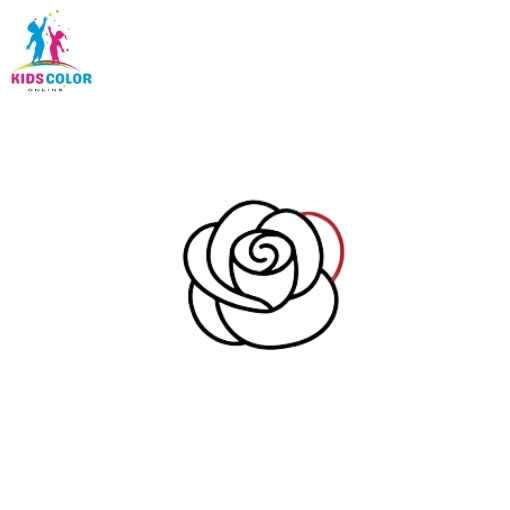
Step 7: Add another petal on the right side to make the flower fuller.

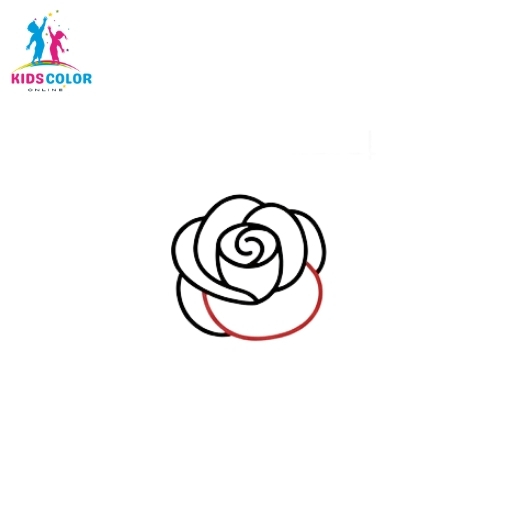
Step 8: Add one more outer petal curve on the lower right.

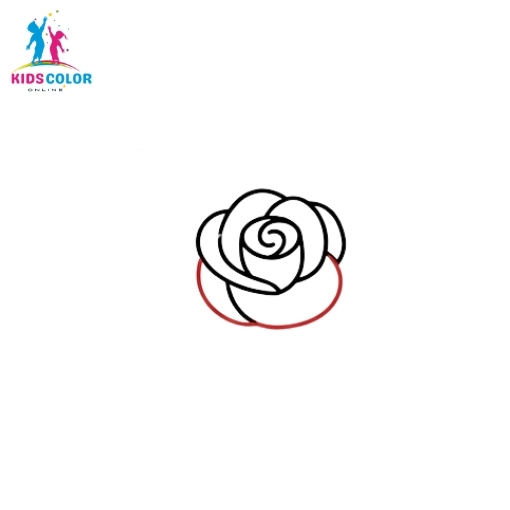
Step 9: Below the flower, draw the small pointed leaves (the base of the bud).

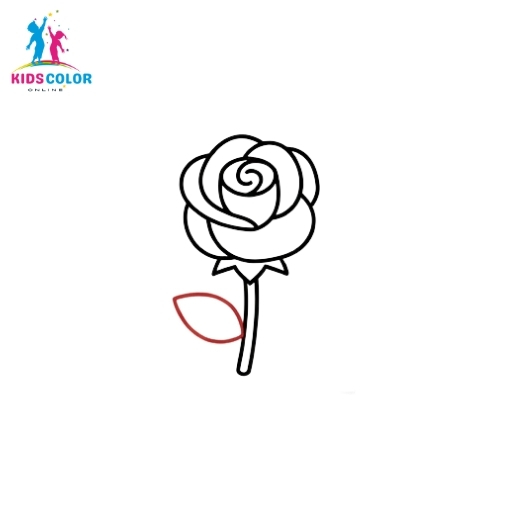
Step 10: Draw the stem as a line going down from the base of the bud.

Step 11: Draw the outline of a leaf on the left side of the stem.

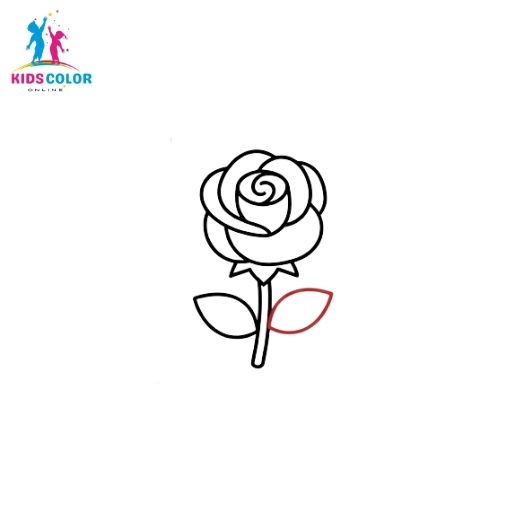
Step 12: Draw the outline of a second leaf on the right side of the stem.

Step 13: Inside the left leaf, draw a center line and small veins.

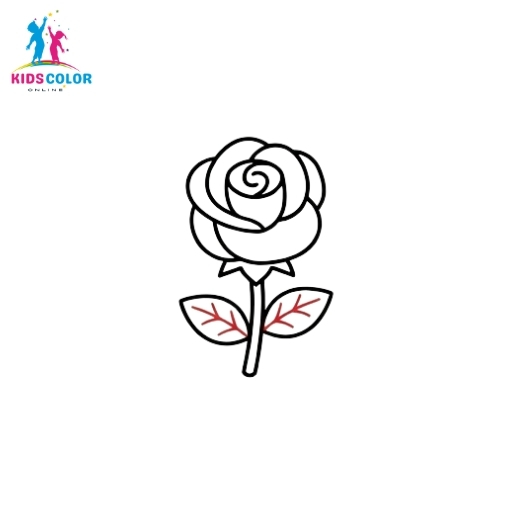
Step 14: Inside the right leaf, add a center line and veins too.

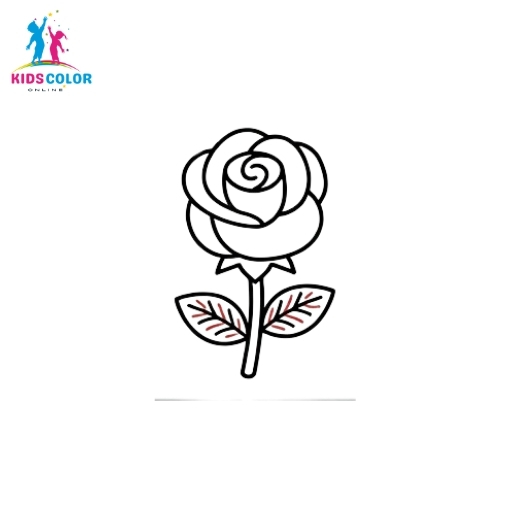
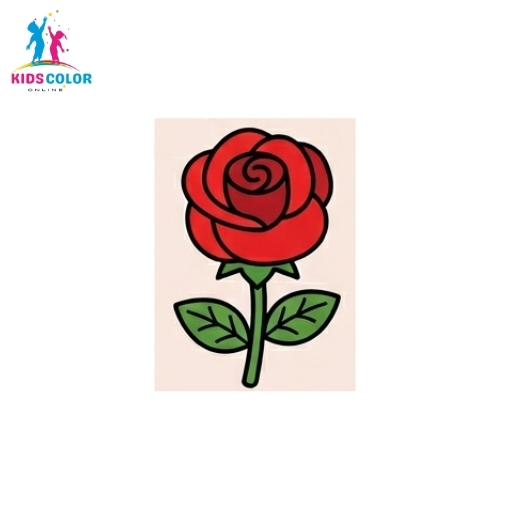
Step 15: Erase any extra lines and darken your outline with a marker. Your drawing is ready.


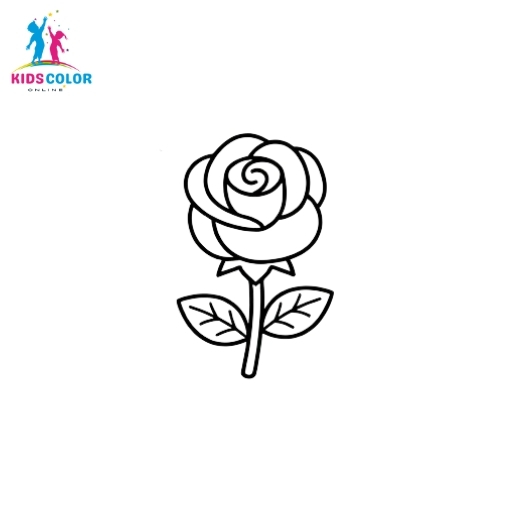
Step 16: Color it in last. Make the flower red and the stem and leaves green. Your rose is complete!


Keep Practicing

Learning how to draw a rose takes a little time, but it gets easier with every try. Start with the simple shapes, build your petals layer by layer, and add shading last. Soon you will be drawing roses from memory.

Once you feel confident, try drawing a whole bunch of roses, a single long-stem rose, or a rose in a different color. You can even put your rose on a homemade card or in a bullet journal.

Have a question, a drawing to share, or an idea for a tutorial you would love to see? We would love to hear from you. Just head over to our Contact Us page and say hello. Your feedback helps us create better guides for young artists everywhere.

Now grab your pencil and start drawing. Your very own rose is just a few simple shapes away.