
How to Draw a Pumpkin Step by Step
Follow these thirteen short steps. In each picture, the new line you’re adding is shown in red so you always know exactly what to do next. Take your time, breathe, and remember — pumpkins are lumpy in real life, so yours doesn’t need to be perfect.
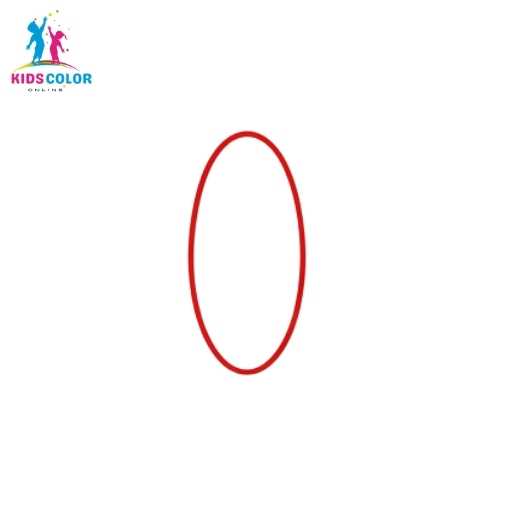
Step 1 — Draw a center oval: Start with one tall oval in the middle of your page. This is the front section of your pumpkin and the base shape everything else grows from.
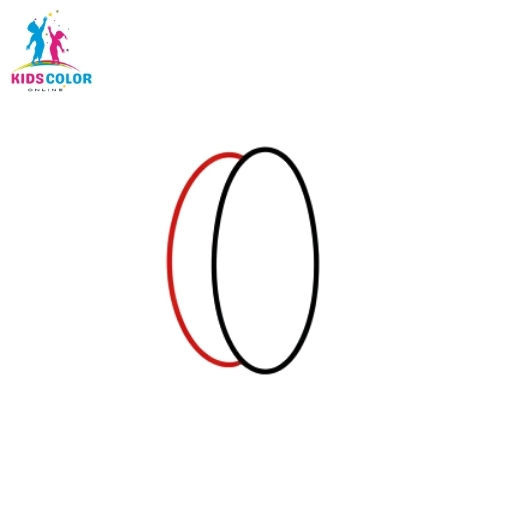
Step 2 — Add a curved line on the left: Draw a gentle curved line hugging the left side of your oval. This is your first rib — the rounded section that gives a pumpkin its bumpy shape.
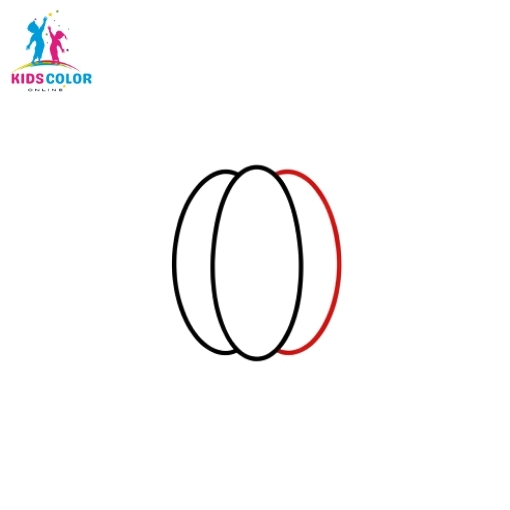
Step 3 — Add a curved line on the right: Now mirror that line on the right side. Try to make it match the left so your pumpkin looks balanced. You’ve got three sections already!
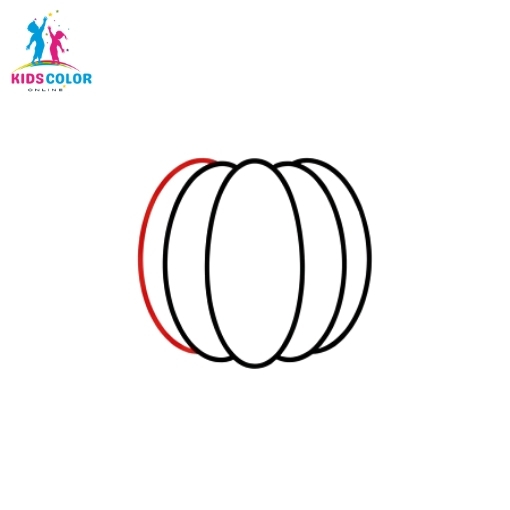
Step 4 — Draw a wider rib on the left: Add another curved line outside the last one on the left. This rib is a little wider and shorter, which makes the pumpkin look round instead of flat.
Step 5 — Draw a wider rib on the right: Mirror it again on the right side. See how the radiating lines are starting to make a real pumpkin shape appear? Keep your lines soft and curvy, never straight.
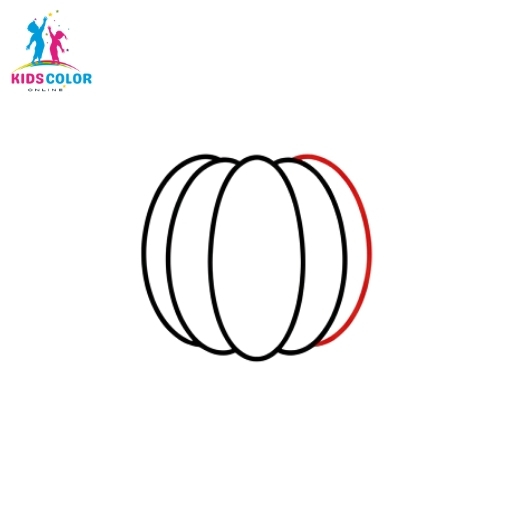
Step 6 — Close the outer edge: Draw one more outer curve on the left to finish the rounded body. Your pumpkin’s full shape is now complete — it just needs a stem and some details.

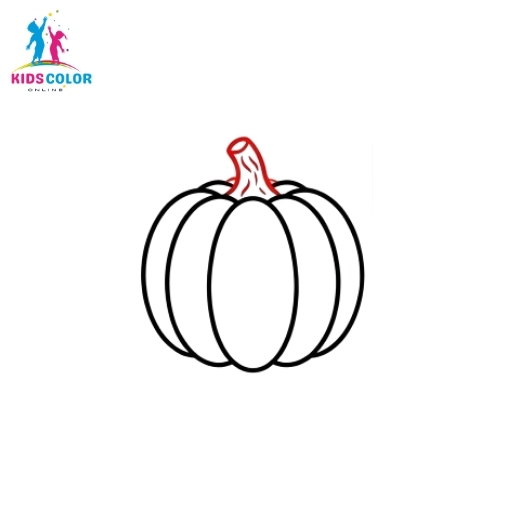
Step 7 — Add the stem: Pop a short, chunky stem on top where the ribs meet. A slightly curvy or tilted stem looks more natural than a perfectly straight one.

Step 8 — Texture the stem: Draw a couple of small lines on the stem to give it a woody, ridged texture. Little details like this make a big difference.
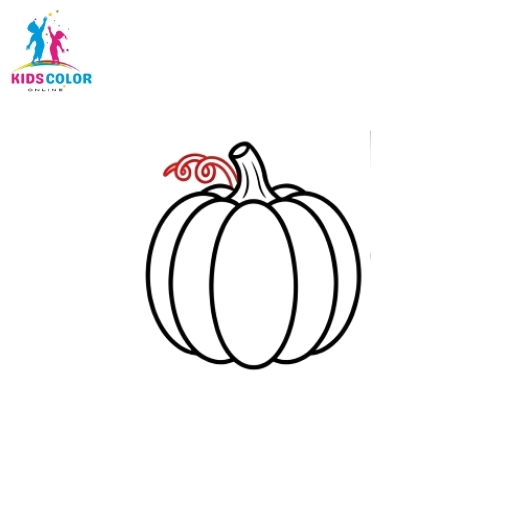
Step 9 — Add a curly vine: Swirl a thin, curly vine (also called a tendril) out from the base of the stem. This is the fun part that makes a pumpkin feel like it came straight from the patch.
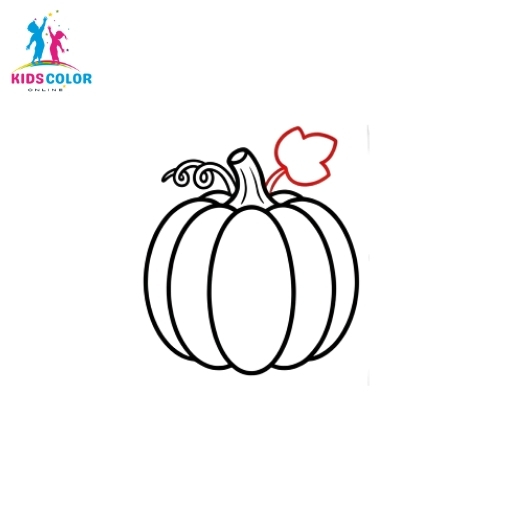
Step 10 — Draw the first leaf: Add a pointy leaf beside the stem. Draw a teardrop shape with a slightly wavy edge, then add a center vein down the middle.
Step 11 — Add a second leaf: Tuck a second leaf on the other side of the stem so your pumpkin looks full and leafy. Vary the size a little so they don’t look like twins.
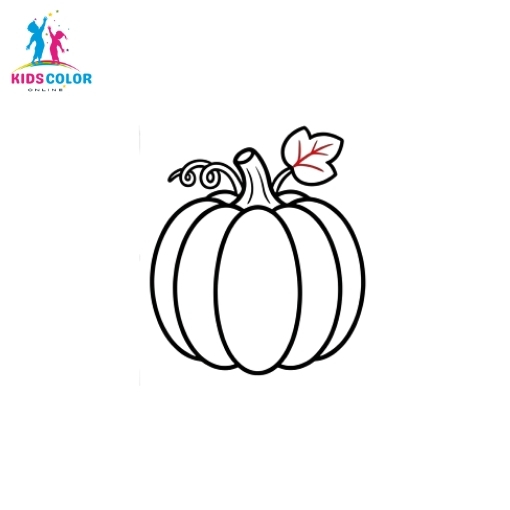
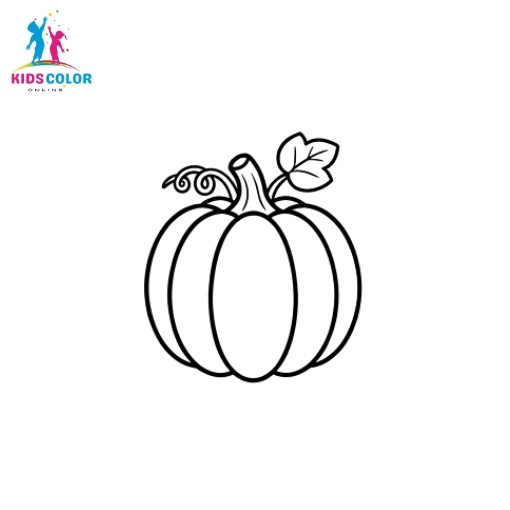
Step 12 — Clean up your outline: Trace over your favorite lines with an ink pen or marker, then erase any extra pencil marks. Now you have a crisp, finished black outline ready for color.
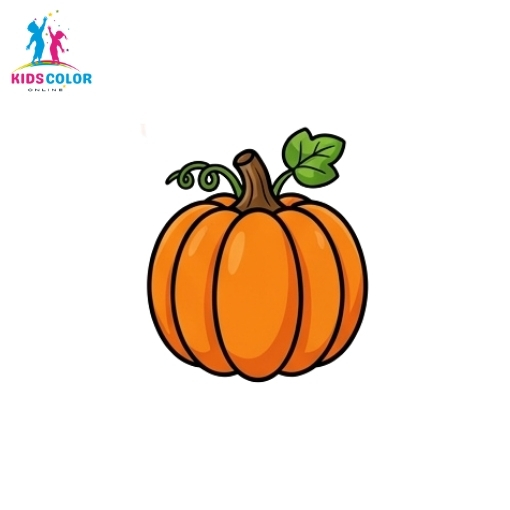
Step 13 — Color it in! Your finished, colored pumpkin. Bright, bumpy, and ready for fall!
How to Color Your Pumpkin
Coloring is where your pumpkin really comes to life. You don’t need a huge box of supplies — even a few crayons will do. Here’s the simple order we use with kids:
Start by filling the whole body with orange. Then go back over the grooves between each rib with a little dark orange or brown to push them deeper. Add a touch of yellow along one side where the light hits — this is called reflected light, and it instantly makes your pumpkin look round instead of flat. Finish with a brown stem and green leaves and vine. Press a bit harder with your crayon to get the richest pigment.
How to Draw Three Pumpkins
Drawing three pumpkins together is easier than it sounds and looks really impressive. Draw a large pumpkin first, then a medium one and a small one leaning in slightly different directions. Let them overlap a little — the front pumpkin should cover part of the ones behind it. That overlap is what creates depth and makes your group look natural instead of lined up like soldiers. Use the exact same rib-and-stem steps you just learned for each one.